
With the extra cold weather we sometimes get in Montreal, I've grown quite a large collection of toques - which I wear quite frequently. I realized I've never seen a faux fur toque before so I thought that might be some fun to have. I had some faux fur laying around from the refashioned coat I did, hence, my new hat. Just read through if you want to see the quick tutorial I made.
Supplies:
- A hat that fits the way you like
- Some paper (I used newspaper)
-Faux fur fabric
- Scissors (preferable ones with thinner edges at the end)
- Pins
- Needle and thread
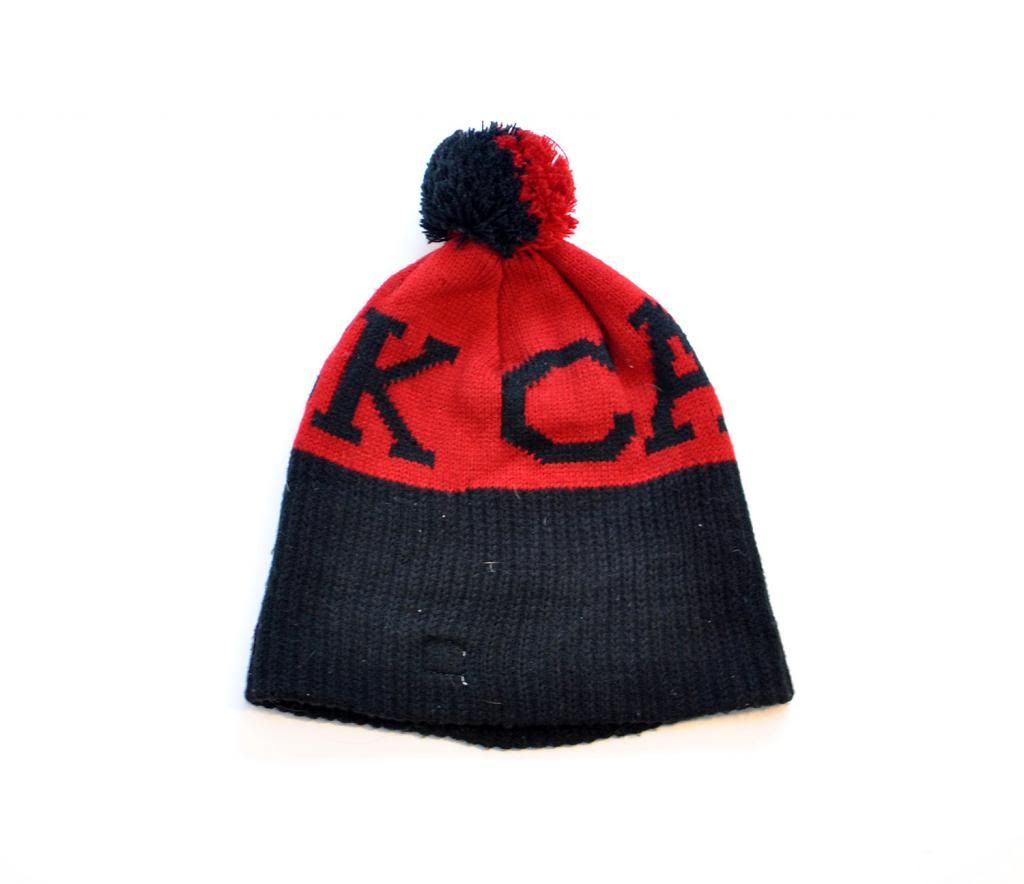
First I took my favourite toque to trace. This is my official Team Canada toque from the 2010 Winter Olympics. Absolutely love the floppy loose fit of it. I was going to get one of the new toques from the Sochi Olympics, but I actually don't like how they just say Canada on them. This one says canuck which feels a little less obsessed flag waving Canadian.
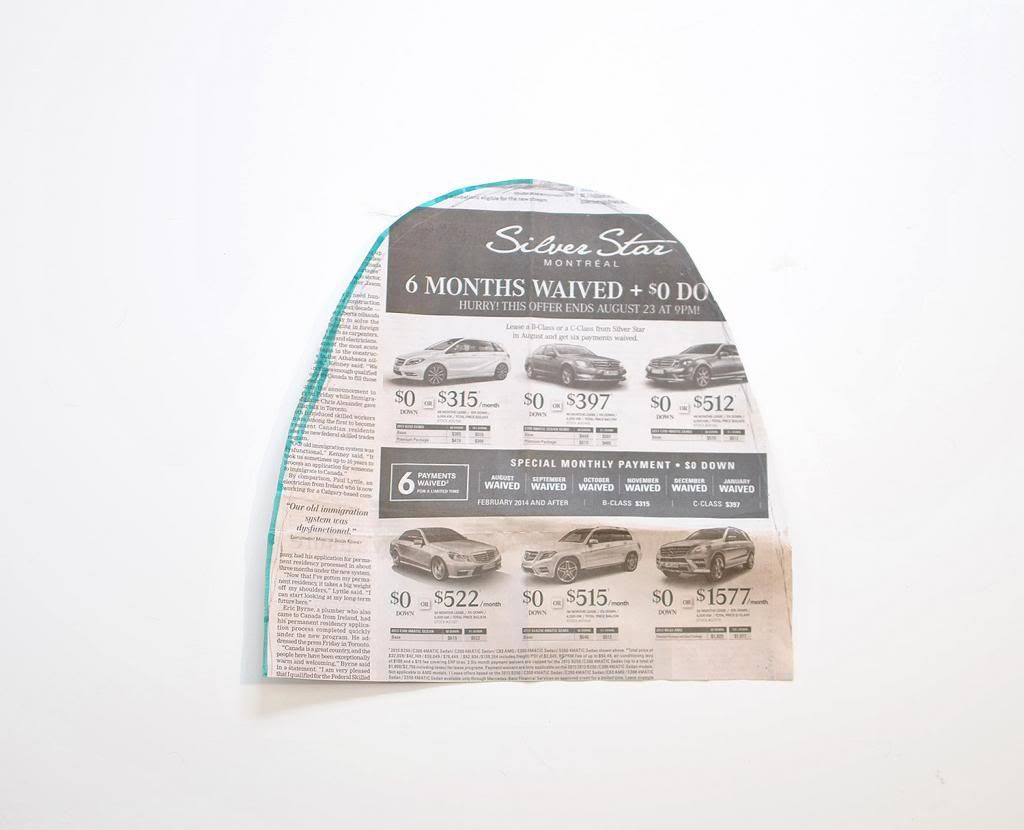
Trace your hat onto your paper. I like to fold my paper in half before I cut it out. That way when it's time to cut, I'm sure it's symmetrical. Then use your new pattern piece to cut out two pieces of your faux fur fabric. The one I used is not too thick with longer fur. The reason I thought it would make a good toque is because it isn't too thick. As opposed to the faux fur I used for my scarf, this fur has a nice drape to it which I thought would make a nice floppy toque. Like I mentioned for the scarf, when cutting faux fur it's best to use just the tips of your scissors cutting only the backing. It's helpful because it limits the cutting of the hairs and decreases the shedding. After you've cut the pattern pieces it is also a good idea to brush along the edges to remove stray hairs.

Then you just need to sew your two pattern pieces together. You can place your two pattern pieces right sides together and pin like I did in this picture. When I put the two pieces together I made sure to brush the hairs towards the middle of the pattern so that they weren't stuck in the seams. If you can see from the bottom of the pattern pieces in this picture ( not the greatest picture I know) my fabric was a long faux fur which means I could have had fur far from the outside of pattern stuck in the seams; not a good look. Afterwards just sew along the outside where you've pinned.
This was just a quick and dirty sewing project. I wasn't too sure how it was going to come out, so I didn't really spend that much time on it. For a quick 15 mins project i'm happy with my new hat; it's warm, fun, and different.