Showing posts with label Tutorials. Show all posts

9.04.2016

Diy Mousepad


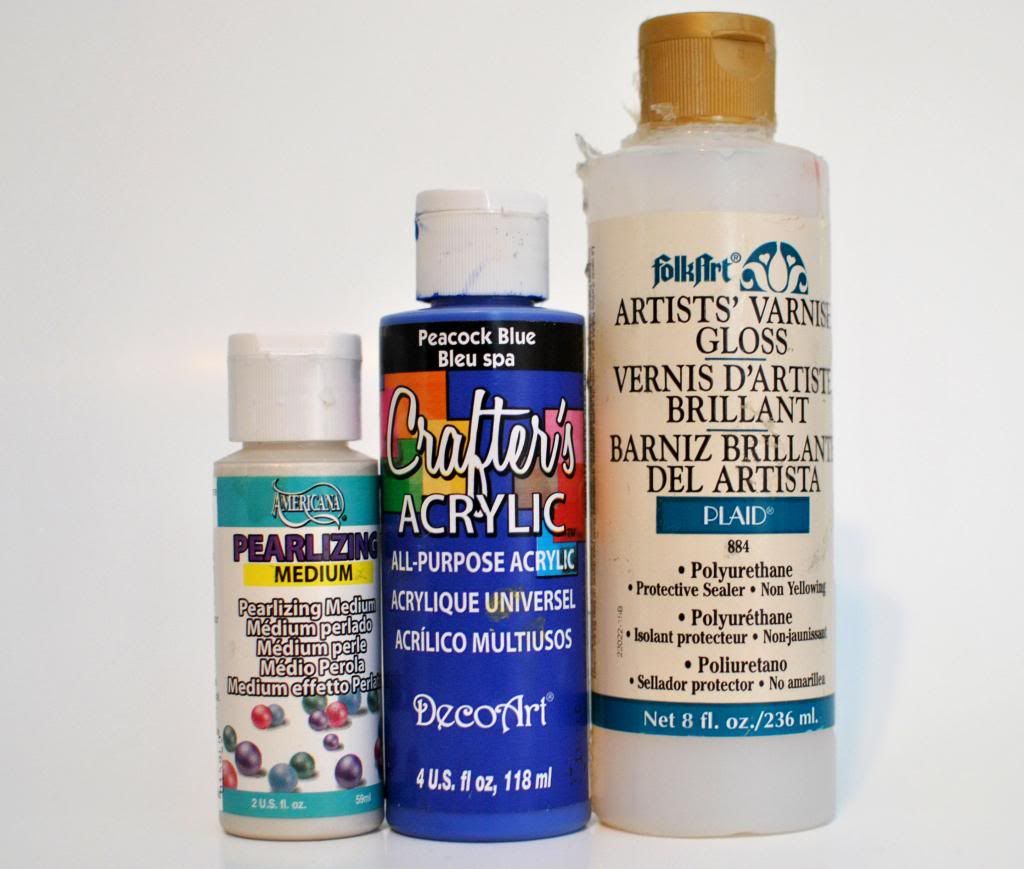
It's been ridiculously long since I've done a proper tutorial on here. Dusting off the cobwebs and showing you a super quick and easy project where all you need is some fabric, cardboard, and glue. 


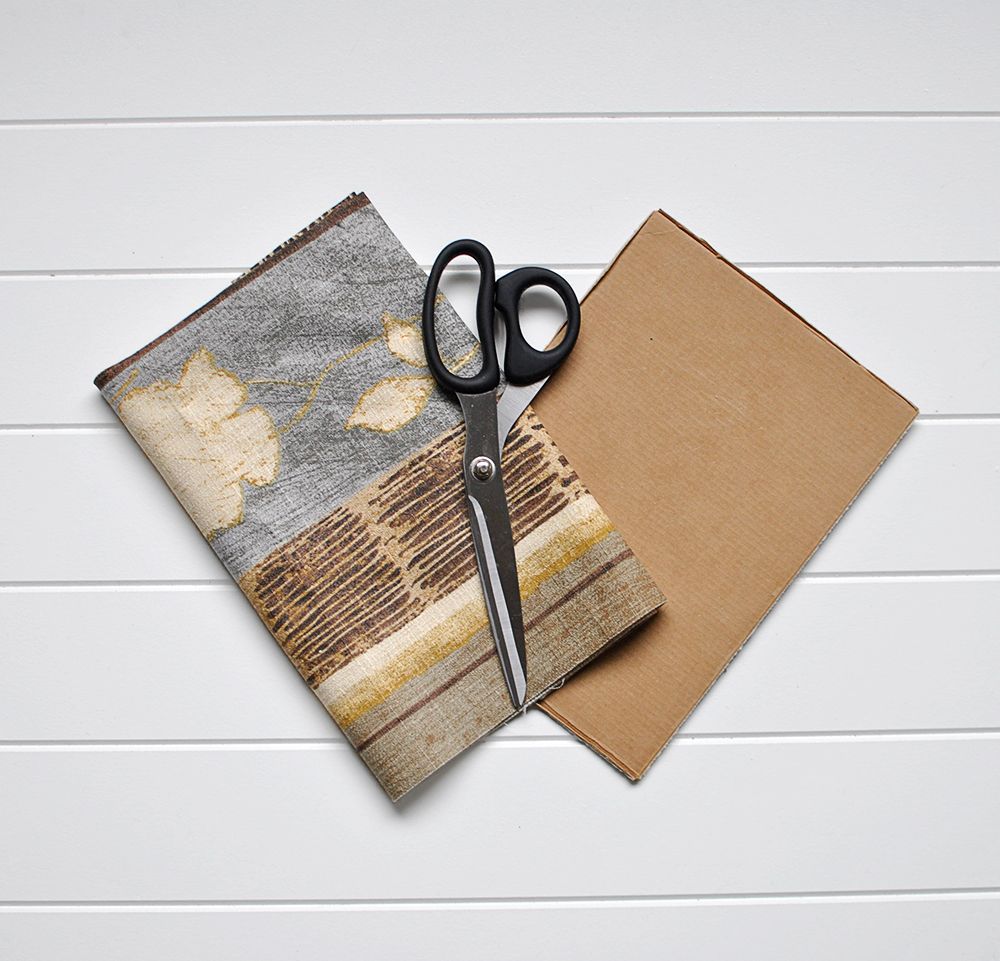
You might recognize this fabric since it's been on the blog a few times. I used it for the pleated crop top and the matching pleated skirt. I originally bought the fabric to make a slip cover for a sofa that's in my workroom. The cardboard is from some boxed wine because I'm the type of classy lady that drinks boxed wine. All I had to do was cut out a cardboard rectangle in the size I wanted and a piece in the fabric slightly bigger. After that all you have to do is glue the fabric to the cardboard. Personally I chose to sew the fabric to the cardboard instead but that was just because I knew I'd like the look better.    

8.23.2015

Diy - Floral Arrangement


Somewhere down the rabbit whole of internet surfing, I saw something I wanted to try. I saw a quick picture of a helpful tip for floral arrangements that I thought would help me step up my florist game. Luckily I still had some roses in the garden I could experiment with.

9.06.2014

Diy Muesli Mix


I decided some time ago I would move towards living and eating healthier. Slowly I've changed habits in a lot of different areas of my life. In terms of my diet, I'm moving towards not eating any processed foods (I haven't gotten there as of yet). This has lead me to a new appreciatiation of eating muesli. There are so many options at the local grocery store to pick from that you could spend months experiementing. The whole "no processed foods" however, has cut into the different options I have. It really defeats the idea of eating healthier if the muesli I'm choosing is chock full of sugar. So inspired by the muesli I've loved the most recently I decided to make my own mix. 


Ingredients: Left to Right
Sliced Almonds - 1/2 cup
Pumpkin Seeds - 1/2 cup
Sunflower Seeds - 1 cup
Rye Flakes - 3 cups

Just add all your ingredients to a container and mix. When I eat it I usually add chopped apple pieces (I have a surplus at the moment from my apple tree) and sugar free soy milk.  


8.18.2014

Diy Indoor Planter


As much as I'd like to live in denial, summer is almost over. Which sadly means soon there will be no more fresh herbs from my garden for cooking. I figured a great way to counter that is to add a couple small planters indoors. I didn't want the planters to be too boring which meant a quick diy project was in order. All I needed was a clean jar, hemp string, and glue. I quickly wrapped the hemp cord around the jar making sure to use glue at the bottom and top of the jar. Then I filled the jar with soil and transplanted some parsley from my garden to the jar. 


Right now the planter has a nice resting place in my kitchen. Soon it will have the company of some basil, oregano, rosemary, and mint.  

1.30.2014

Diy Fuzzy Toque


With the extra cold weather we sometimes get in Montreal, I've grown quite a large collection of toques - which I wear quite frequently. I realized I've never seen a faux fur toque before so I thought that might be some fun to have. I had some faux fur laying around from the refashioned coat I did, hence, my new hat. Just read through if you want to see the quick tutorial I made.    

12.11.2013

Diy Faux Fur Scarf


With winter officially here what could be warmer and comfier than a faux fur scarf?

10.16.2013

Diy Double Wrap Leather Bracelet


My new double wrap leather bracelet. This was just a quick and easy diy that I thought I'd share. 

9.02.2013

Diy Stitchwork Clutch


Found this perforated leather clutch for a $2 while thrifting and thought it would make a great project, all it took was some gold acrylic paint and black crochet thread. First I painted the clutch gold with a couple of coats and let it dry overnight. Then I threaded a large needle with black crochet thread and just went in and out of the holes. I did the flap horizontally and the rest of the clutch vertically to add some contrast. 


I would be lying if I said this was a quick project... I saved the stitchwork to do while watching TV so it didn't actually feel like forever even though it did take a couple of hours. All in all I'm really happy how the clutch turned out and personally I think not only does it look better but it no longer looks cheap. 


8.22.2013

Diy Asymmetrical Dress


I recently made a fairly simple asymmetrical dress that can be worn multiple ways. 

3.14.2013

Earring/Brooch Frame


A great picture frame to showcase earrings and brooches!

3.12.2013

Diy Recycled Necklace


My new diy necklace made out of scraps of fabric and old wooden drapery rings. 


2.22.2013

Flounce Skirt

 Sunday is officially sewing day so I spent mine making a new skirt! 

2.13.2013

Fur Collar Refashion


I recently bought a camel trench which had a faux fur removable collar. I removed it from the coat because personally I didn't really like it. A couple days later however, I thought it would be a great headband.  


I didn't want to do anything permanent in case I do end up wearing it on the coat, that's where the button holes come into play. 


In my craft stash I found two buttons that fit into the button holes and I cut a piece of elastic that I could string the buttons with. 


I added a quick knot tying the buttons together. 


Placed the buttons through the buttons holes on the collar and voila! 


My new Davy Crockett-esque headband to wear on extra cold days.  


2.04.2013

DIY Mug

    
     Mugs are absolutely essential to my everyday routines. Honestly, most days the only things I drink are coffee and tea. So naturally I decided I needed a mug that fit my general aesthetic.

My usual mug:


In my craft stash I found what I wanted:

What I did:
1) I taped the bottom of the cup and handle so I could have a straight line
2) I mixed the pearlizing medium with the blue acrylic paint so I could have a blue with some depth
3) I painted the bottom of the cup (3 coats)
4) Once the blue dried, I painted two coats of gloss over the blue
5) Put the cup in oven (not pre-heated) and baked the cup at 350 degrees Fahrenheit for 30 mins
6) Turned off the oven and let the cup cool
7) Once cooled, I removed the cup from the oven and let the cup sit for 2 days
  
I baked the cup so that I shouldn't have to worry about the paint when washing the cup. It should also be noted that you shouldn't paint with acrylic paint anywhere that will come in contact with your mouth or hot liquids (regularly).